
BloodHound is a security tool used by security professionals and attackers. This tool mainly uses the Windows Active Directory environment and enables the discovery of attack paths in this environment.
Some of the features this tool provides;
->Mapping Attack Paths: Maps and visualizes the relationships between users in the network.
->Defining Exploit Paths: It allows us to see how users and groups can access target systems. It shows which paths can be used to gain access.
->Authorization Review: It helps us to examine the authorizations in AD. It allows us to see unnecessary and excessive authorizations.
->Threat Analytics: It can be used to evaluate and analyze the security of the network. It can be used to simulate attack scenarios and create defense strategies.
Let’s Install the BloodHound
Requirements
->BloodHound Tool
->Neo4j Graph DB
->Windows/Linux/Mac Endpoint
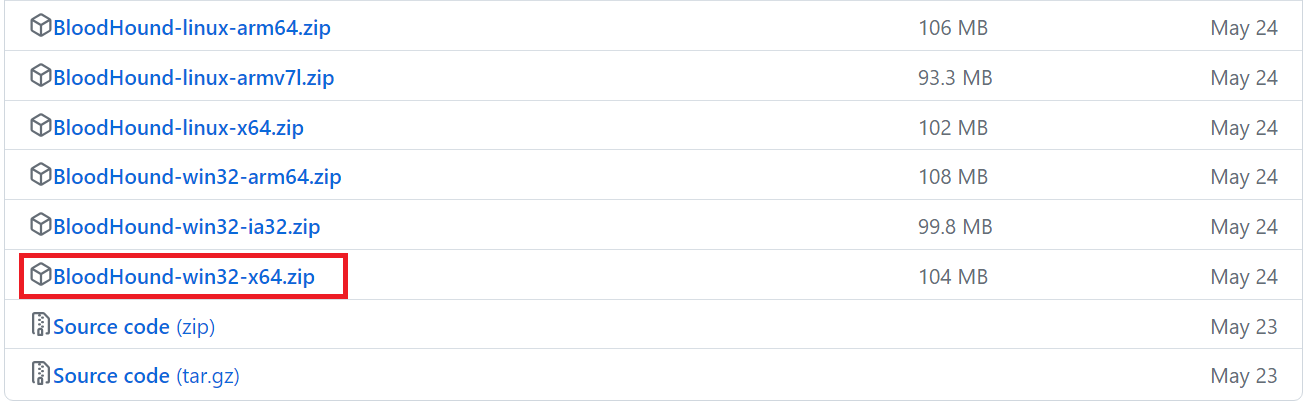
Go to the https://github.com/BloodHoundAD/BloodHound/releases and dowload related release.
Then click to the BloodHound.exe

Afterwards, we will see that BloodHound is running as shown below, but we will encounter the “No Database Found” error as in the red box. This is because we did not install the Neo4j database. Neo4j is a NoSQL database that stores data in the form of graphs. Bloodhound allows us to visualize and analyze Neo4j data.

So let’s download and install Neo4j. Let’s download the installer file from the link and install it.
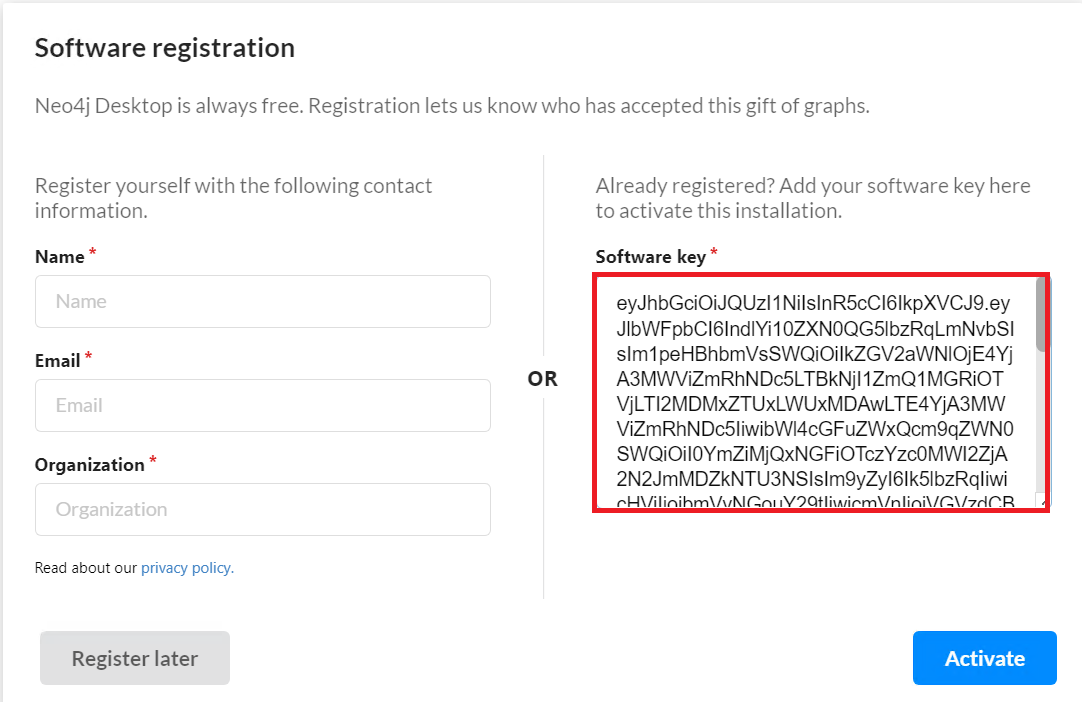
Another important thing here is to note the activation key given to us. We will use this after installation.

After the Neo4J installation is completed, let’s run the desktop application and add the activation key we noted as shown in the picture.
After entering the activation key and completing Neo4j’s tests to see if the activation key is a valid and correct key, let’s create a new DBMS to be used for BloodHound.

Next, let’s set a Name and Password for the DBMS and start our DBMS.

Then go to BloodHound again and enter the credentials.

If you receive an error when logging into BloodHound, go to Neo4j and delete all projects as follows and re-create them.

After logging in, we will see that the screen is blank because we have not received any Active Directory Data yet.

To retrieve the data, we can use SharpHound.exe or the Sharphound.ps1 file located at the BloodHound\BloodHound-win32-x64\resources\app\Collectors path in the BloodHound file. We can run this exe or ps1 file on any endpoint within the AD structure.
Some information that SharpHound collects;
->Security group memberships
->Domain trusts
->Abusable rights on Active Directory objects
->Group Policy links
->OU tree structure
->Several properties from computer, group and user objects
->SQL admin links
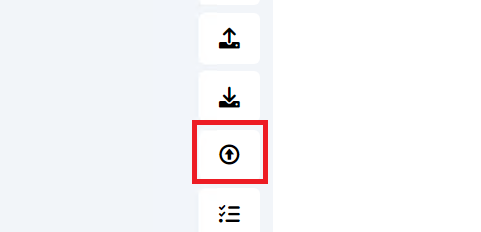
After running SharpHound.exe, a .zip file is created in the location where it is run. Let’s extract the .zip file and upload files in the BloodHound interface. Click the upload button and select the .zip file created by Sharphound.exe.
Then, in the Analysis section on the top left menu, we can see some pre-prepared queries.

Here, for example, we can see all admins in the domain by saying “Find all Domain Admins“.

Or we can see which are the shortest paths to domain admins with the “Find the Shortest Paths to Domain Admins” query. As seen in the picture, we can see where the shortest path from “Clients” to “Domain Admins” passes.

Sources:
->https://bloodhound.readthedocs.io/en/latest/data-collection/sharphound.html
Leave a Reply